What Is the Light Under a Microwave Called? What to Know
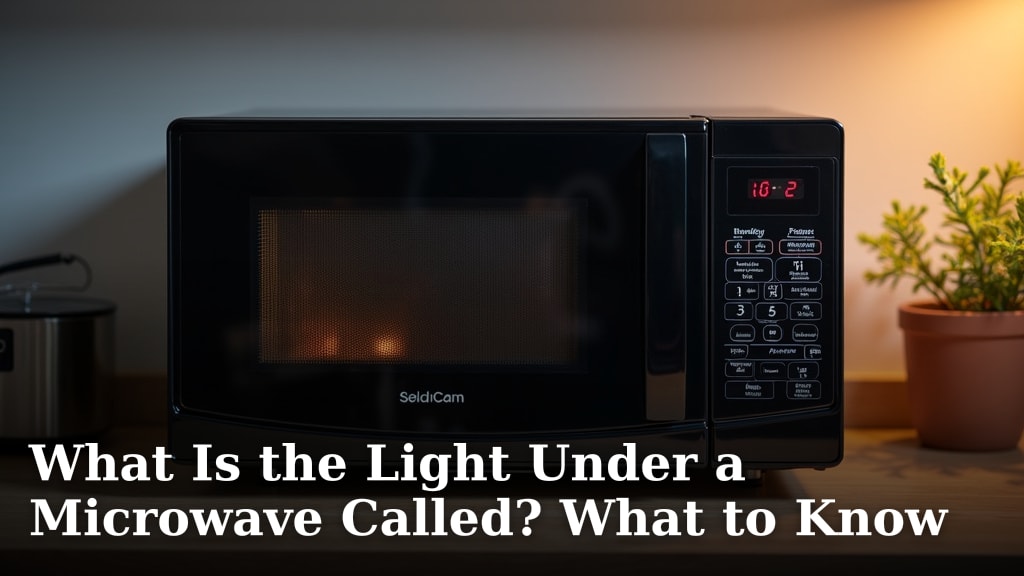
The light inside your microwave is most commonly called the cavity light. This simple bulb helps you see your food as it heats up and cooks. We found that this is the standard term used in manuals and by appliance experts.
While its main job is providing interior visibility, the cavity light also plays a part in safety. It lets you check on food to prevent spills or overcooking without opening the door. Most models use a standard bulb that you can easily replace yourself.
- The light inside a microwave is called the cavity light.
- Its primary purpose is to let you see your food while it cooks.
- A secondary benefit is helping with safety and monitoring.
- These bulbs are usually standard and easy to replace at home.
- The light turns on whenever the microwave is running or the door is open.
Below, we break down exactly what this part does, how it works, and what to do if it stops lighting up.
The Cavity Light: Your Microwave’s Built-In Lamp
The term you’re looking for is cavity light. This is the official name for the small bulb inside the microwave’s cooking chamber. It’s the part that lets you watch your food without opening the door and losing heat.
Think of it like the light inside your refrigerator. It’s not there to cook or heat anything. Its only job is to let you see. You can tell if your cheese is melting or if a container is about to boil over.
We found that manufacturers use this term in user manuals and parts lists. When you search for a replacement, “cavity light bulb” or “interior light” are the correct terms to use.
Why Your Microwave Needs an Interior Light
Having a light inside seems obvious, but it serves more than one purpose. Here’s a quick breakdown of why it’s there.
Monitoring Your Food
The primary reason is simple: visibility. You need to see what you’re heating. Is your soup starting to bubble? Is the butter melting? This helps you avoid messy spills or overcooked, smoky disasters. No one wants to clean burnt-on cheese from the inside of their appliance.
A Subtle Safety Feature
The light also acts as a useful indicator. We found that in most models, the light turns on when you close the door and press start. If you open the door mid-cycle, it stays on. This tells you the microwave has stopped cooking, which is an important safety check.
It helps you remember the food is hot, too. Seeing the steam illuminated under the light is a good reminder to use oven mitts. This simple feature helps prevent minor kitchen burns.
How the Cavity Light Works
The mechanism is straightforward and reliable. It doesn’t need to be complex to do its job well.
The light is wired to two triggers. First, it turns on whenever the microwave door is open. This lets you load or unload food. Second, it turns on during the cooking cycle when the microwave is running.
Some newer models have a small delay. The light might stay on for 30 seconds after the cycle ends. This gives you a moment to see the finished food before you reach in. It’s a thoughtful touch from designers.
Types of Light Bulbs Used in Microwaves
Not all microwave lights are the same. The bulb type can vary based on the age and style of your microwave. Using the right replacement is key for a proper fit and performance.
Here’s a quick look at the common types you might encounter.
| Bulb Type | Common Description | Typical Lifespan |
|---|---|---|
| Incandescent | Traditional small light bulb, often with a protective glass cover. | 1,000 – 2,000 hours |
| Halogen | A brighter, more efficient version of an incandescent bulb. | 2,000 – 4,000 hours |
| LED | Found in newer models. Very energy-efficient and long-lasting. | 20,000+ hours |
| Neon or Screw-in | Simple, small bulbs that look like miniature versions of a standard screw-in bulb. | Varies widely |
Many experts and repair guides suggest that the incandescent and halogen types are the most common in models from the last decade. The specific wattage and base type matter most when buying a replacement.
Finding the Correct Replacement Bulb
If your microwave light goes out, don’t just grab any small bulb. You need the right one. An incorrect bulb can cause issues or not even fit in the housing.
Here is the best way to find the exact match.
- Check Your User Manual: The bulb information is often listed in the specifications or maintenance section.
- Search by Model Number: The model number is on a sticker, usually on the door frame or the back. Enter it into the appliance parts website of your microwave’s brand.
- Remove the Old Bulb: If you’re comfortable doing so, carefully take out the old bulb. Take it to a hardware or appliance parts store. They can match the size, shape, and base.
We found that online parts retailers are very reliable. They allow you to input your model number and see the exact OEM (Original Equipment Manufacturer) bulb for your microwave.
Installation is Usually a Simple DIY Task
Replacing a microwave cavity light is often one of the easiest repairs you can do. It typically requires no special tools. Your biggest task is just getting to the bulb.
You will usually need to remove the cover inside the microwave. This is often held by one or two screws. Once you have the cover off, the old bulb should be visible. It may twist out like a regular light bulb or pull straight out from a socket.
Safety first: Always unplug the microwave before you begin any work. Even a small shock from a capacitor is not something you want to experience. Let it sit unplugged for a few minutes before you start.
Troubleshooting: When the Light Doesn’t Come On
So your microwave light isn’t working. Does this mean the microwave is broken? Not necessarily. Let’s walk through the common causes.
First, does the microwave still heat and cook food normally? If yes, then the problem is almost certainly isolated to the light circuit. This is good news, as it’s a much simpler and cheaper fix.
Step-by-Step Checks You Can Perform
Before you call for repair service, try these simple steps. You might solve the problem yourself in minutes.
- Check the Bulb: This is the most common culprit. Bulbs burn out. If you have a replacement, try installing it.
- Inspect the Bulb Socket: With the power off, gently check if the bulb is loose in its socket. Sometimes it just needs a slight twist to make proper contact.
- Examine the Door Switch: The light often activates via a switch triggered by the door. If the door isn’t closing perfectly, that switch might not engage. Ensure the door latches firmly.
- Look for a Reset Button: Some models have a small, manual reset button for the thermal cut-out, which can affect the light. Check your manual for its location.
When to Call a Professional
If you’ve tried a new bulb and the light still doesn’t work, the issue could be with the door switch or the control board. Diagnosing and fixing these parts involves working with higher-voltage components.
At this point, for safety and effectiveness, it’s best to contact a qualified appliance repair technician. They have the tools and knowledge to diagnose electrical issues safely.
Maintenance Tips for Your Cavity Light
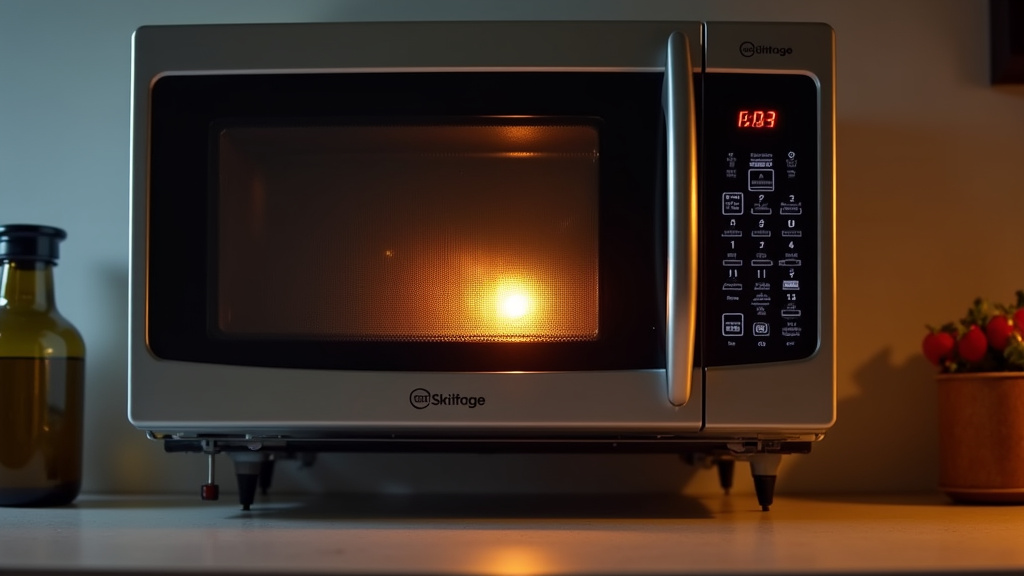
You can’t stop a bulb from burning out eventually, but you can help it last as long as possible. A little care goes a long way.
- Use it for Monitoring Only: Avoid using the microwave light as a kitchen night light. Turning it on only when needed reduces its total run time.
- Clean It Gently: If grease builds up on the bulb or its cover, it can trap heat and shorten its life. Once the bulb is cool, wipe it with a slightly damp, soft cloth.
- Ensure Good Door Seal: A clean door seal helps the microwave work efficiently and ensures the door switch (and the light) engages properly every time.
Your Microwave Light Maintenance Checklist
Keep these simple habits to ensure your microwave works safely and effectively for years.
- Check that the door closes firmly every time you use it.
- Clean the door seal and the area around the cavity light cover occasionally.
- Keep the user manual in a safe place for easy reference.
- Note your microwave’s model number for quick part searches if needed.
- Always unplug the unit before attempting to replace the bulb.
The humble cavity light is a perfect example of a small part with an important job. It makes your cooking experience easier and safer. Now you know exactly what it’s called, how it works, and what to do if it ever stops working.
Conclusion
The light inside your microwave is called the cavity light. It’s a simple but important part that helps you monitor your food and adds a layer of safety. You now know it’s a standard bulb, usually easy to replace yourself. If it stops working, a quick check of the bulb or door switch often solves the problem. Remember to always unplug your microwave before any DIY repairs.
Your next step is simple. If your light is out, find your microwave’s model number and look up the correct replacement bulb. Using the right part ensures a proper fit and long-lasting performance. This small fix keeps your kitchen routine running smoothly.
Frequently Asked Questions
What should I do if my microwave light is dim but the microwave still heats?
A dim light usually means the bulb is nearing the end of its life. The microwave’s heating function is separate from the light circuit. You can safely continue to use it, but you should plan to replace the bulb soon. A new bulb will restore full brightness and better visibility.
How can I be sure I’m buying the right replacement bulb?
Always check your microwave’s model number, which is on a sticker inside the door frame or on the back. Use that number on an appliance parts website to find the exact OEM bulb. The wattage and base type are the most important details to match. This prevents fit issues.
Does a broken cavity light affect how my microwave cooks?
No, a broken cavity light does not affect the microwave’s cooking performance. The light and the magnetron (the part that heats food) operate on separate circuits. Your food will still heat normally. The only thing you lose is the ability to see inside while it cooks.
Is it safe to replace the microwave light bulb myself?
Yes, for most models it is a safe and simple DIY task. The key safety rule is to always unplug the microwave before you begin. Let it sit for a few minutes to discharge any residual power. The process usually just involves removing a cover and twisting out the old bulb.
Can I use my microwave if the cavity light is broken?
You can, but it’s not recommended. Without the light, you cannot see your food cooking. This increases the risk of spills, overcooking, or burning. For safety and to avoid a mess, it’s best to replace the bulb before using the microwave again.