What to Know Before Installing a Microwave Over a Range?
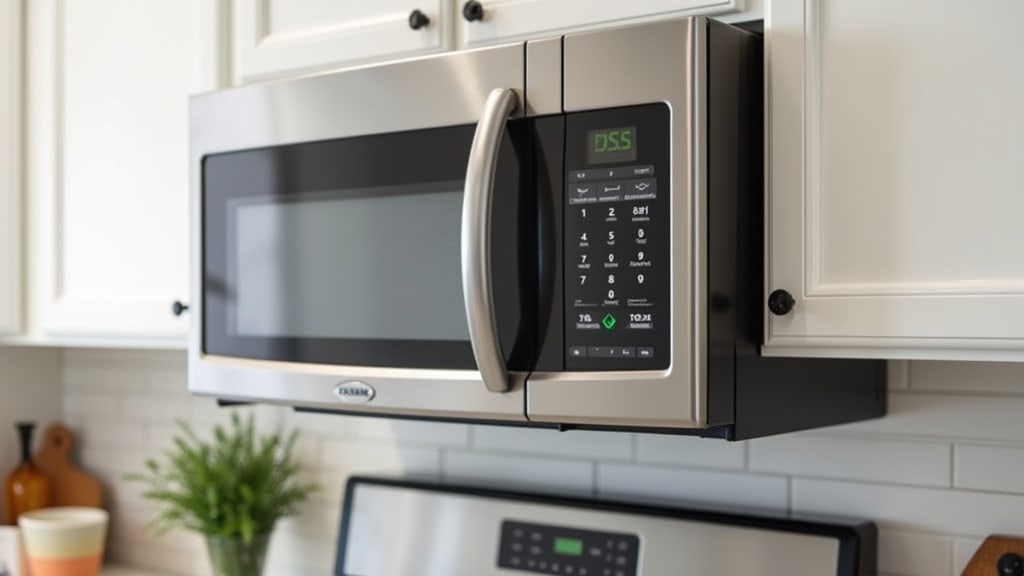
Installing a microwave over your range is a popular space-saving solution, but the most important thing to know is that it’s not a simple DIY project for everyone. You must first verify that your **current cabinetry and venting system are compatible**, or you’ll face costly surprises. We found that professional installation is often necessary to ensure everything meets building codes.
Beyond the fit, you need to understand **local building codes** and the differences between **ductless and ducted ventilation**. Getting this wrong can lead to poor air quality or even a safety hazard in your kitchen. Many experts say careful planning here saves a lot of headaches later.
- Check Measurements First: Ensure there’s enough clearance between your cooktop and the microwave.
- Know Your Venting: Decide if your setup requires an external vent or can use a recirculating filter.
- Weight Matters: Confirm your upper cabinets and wall can support the unit’s weight.
- Follow the Manual: Adhere strictly to the manufacturer’s installation requirements.
- Consider a Pro: When in doubt, hire a qualified installer for safety.
Below, we break down exactly what to measure, what codes to check, and how to choose the right microwave for your kitchen setup.
Key Considerations for Over-the-Range Microwave Installation
Before you unbox your new appliance, you need to measure your kitchen space and understand your home’s setup. The most critical factors are the physical clearances, your ventilation system, and the strength of your cabinets and wall. Getting these three things right prevents most installation headaches.
Measuring for a Perfect Fit
A precise fit is non-negotiable. You’ll need to measure more than just the microwave itself. Your goal is to ensure the unit fits into the cabinet space and maintains safe, functional clearances above the cooktop.
Critical Clearance Measurements
Use a tape measure to get exact numbers. First, measure the width, height, and depth of the existing opening in your upper cabinets. Next, measure the distance from your cooktop surface to the bottom of the microwave or the cabinet above it.
We found that the National Kitchen & Bath Association (NKBA) recommends a minimum of 30 inches of clearance between the cooktop and the microwave. Some manufacturers and local codes may require more. Always check the specific installation manual for your microwave model first.
Also, check the depth. The microwave should not stick out beyond the front of your cabinets. It should be flush or slightly recessed for a clean look and to prevent head bumps.
Understanding Your Venting Options
An over-the-range microwave is also your kitchen’s range hood. How it vents smoke, steam, and grease is vital for air quality and appliance life. There are two main systems: ducted and ductless.
Ducted vs. Ductless Systems
A ducted (or vented) system pushes air outside your home through a metal duct. This is the most effective method for removing contaminants. The CDC highlights that proper kitchen ventilation helps reduce indoor air pollutants from cooking (CDC). You must have an existing duct path in your wall or ceiling for this to work.
A ductless (or recirculating) system pulls air through a charcoal filter and blows it back into the kitchen. It cleans the air of odors and grease but doesn’t remove heat, moisture, or all gas pollutants like carbon monoxide. If you have a gas range, many experts strongly recommend a ducted setup for safety.
The right choice depends entirely on your kitchen’s structure. Do you have a vent duct leading outside? Or are you on an upper floor of an apartment with no exterior wall access? Your answer here determines which type of microwave you can or should buy.
| Feature | Ducted System | Ductless System |
|---|---|---|
| Airflow | Vents air outside | Recirculates air through a filter |
| Effectiveness | Most effective for removing smoke, moisture, gases, and odors | Good for light odors; less effective for heavy smoke, heat, and gases |
| Requirement | Needs an exterior duct run (wall or roof) | No ductwork needed; relies on replaceable charcoal filters |
| Best For | Gas ranges, heavy cooking, most homes with existing ductwork | Electric ranges in spaces where ducting is impossible (e.g., some condos) |
Weight and Wall Support
These microwaves are heavy, often weighing between 50 and 100 pounds. Your upper cabinets and the wall behind them must support this load without any issue. You should never rely solely on the drywall.
Installation typically involves a mounting bracket secured to the wall studs and sometimes screws going into the cabinet above. You must locate your wall studs with a stud finder and plan to drill into them. If your cabinets are flimsy or the wall is just drywall over empty space, you may need to reinforce the area first.
Electrical and Structural Prep
An over-the-range microwave requires a dedicated electrical circuit. This is usually a 120-volt, 15- or 20-amp outlet located inside the upper cabinet space where the microwave will sit. You cannot plug this into a standard kitchen outlet shared with other appliances. Check your home’s circuit panel and ensure an outlet is present where you need it.
If you are replacing an old microwave, the electrical and mounting bracket may already be there. However, you must verify that your new model is compatible with the old bracket. Using the wrong bracket is a serious safety risk.
Step-by-Step Installation Overview
While we always recommend professional help, understanding the general process helps you communicate with your installer and see the scope of the work. Here is a simplified breakdown of a standard installation.
- Prepare the Area: Turn off power at the breaker. Remove the old microwave if present. Ensure the cabinet space is empty.
- Install the Mounting Plate: Hold the bracket against the wall, level it, and mark it. Drill pilot holes into the wall studs and secure the plate with lag screws.
- Prepare the Cabinet: Cut a hole in the cabinet bottom for the power cord and vent duct if needed. Install any required duct connectors.
- Lift and Secure the Microwave: This is the hardest part. You need help. Lift the microwave and hook it onto the mounting plate. Then, from inside the cabinet above, drive screws down into the top of the microwave to lock it in place.
- Make Connections: Plug the power cord in, attach the vent duct if applicable, and install the charcoal filters if it’s a ductless model.
Common Pitfalls to Avoid
We’ve seen a few consistent mistakes during installation planning. Knowing them helps you avoid costly errors.
- Ignoring Local Codes: Building codes vary by city and county. Some mandate ducted ventilation for gas stoves. A permit might even be required. A quick call to your local building department can save you from having to redo work.
- Forgetting to Turn Off Power: This sounds basic, but it’s the most important safety step. Working on electrical connections with the power on can cause severe injury or damage.
- Poor Measuring: Guessing measurements leads to a microwave that doesn’t fit or leaves unsafe gaps. Measure twice, order once.
- Mismatched Venting: Buying a ducted microwave for a ductless kitchen, or vice versa, means it won’t work correctly from day one.
Your Pre-Installation Checklist
Use this list to prepare before you buy or before the installer arrives.
- I have measured the cabinet opening width, height, and depth.
- I know the vertical clearance from my cooktop and it meets the manual’s requirement.
- I have identified if I have a ducted or ductless venting system.
- I have located the dedicated electrical outlet inside the cabinet space.
- I have located the wall studs behind where the bracket will mount.
- I have the manufacturer’s installation manual ready to review.
When to Call a Professional Installer
You should strongly consider hiring a pro if any of these apply to you. The cost of installation is minor compared to repairing damage or dealing with a safety hazard.
We found that the primary reasons to go professional include working with heavy appliances, modifying cabinetry, moving electrical outlets, or installing new ductwork. If you are not 100% confident in your DIY skills with tools, a professional guarantees the job is done to code and safely. Many appliance retailers offer installation packages, which is a convenient option.
Conclusion
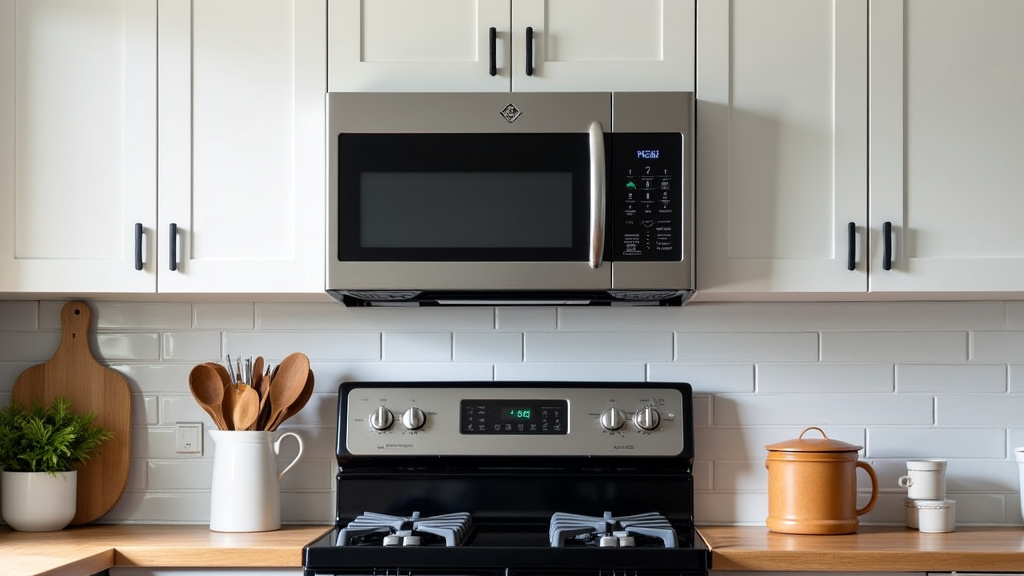
You now know that installing an over-the-range microwave is less about the appliance and more about your kitchen’s specific setup. Success hinges on accurate measurements, the right venting solution, and ensuring your cabinets and walls are strong enough. Skipping these steps can lead to poor performance, safety issues, or a unit that simply doesn’t fit. Our best advice is to use the pre-installation checklist and consult your local building codes before you buy. When in doubt, a professional installer is a wise investment for this job. Your next step is to gather your tape measure and review your microwave’s manual one final time.
Frequently Asked Questions
How much does it cost to have a professional install my over-the-range microwave?
Professional installation typically costs between $150 and $400. The final price depends on your location, the complexity of the job, and whether new ductwork or electrical work is needed. Getting a few quotes from local installers or checking appliance retailer packages is a smart move.
Can I install an over-the-range microwave over a gas stove?
Yes, but ventilation is critical. Most experts strongly recommend a ducted (vented) system for gas ranges. This safely removes combustion gases like carbon monoxide from your home. A ductless model may not provide adequate protection.
What is the biggest mistake people make during installation?
Based on our research, the most common pitfall is ignoring local building codes. Requirements for clearance, electrical circuits, and venting can vary. A quick call to your local building department can prevent you from having to redo work later.
Do I need a new microwave if my old one was also over-the-range?
Not always, but it depends. You must check if the new model is compatible with your existing mounting bracket and electrical outlet. Using the wrong bracket is a serious safety hazard. Always verify compatibility before purchasing a replacement.
How long does a typical installation take?
A straightforward replacement can take 1-2 hours for a professional. If new ductwork, electrical work, or cabinet modifications are required, the job could take significantly longer. It’s a good question to ask when getting installation quotes.