What Is a Trim Kit for an Over-the-Range Microwave?
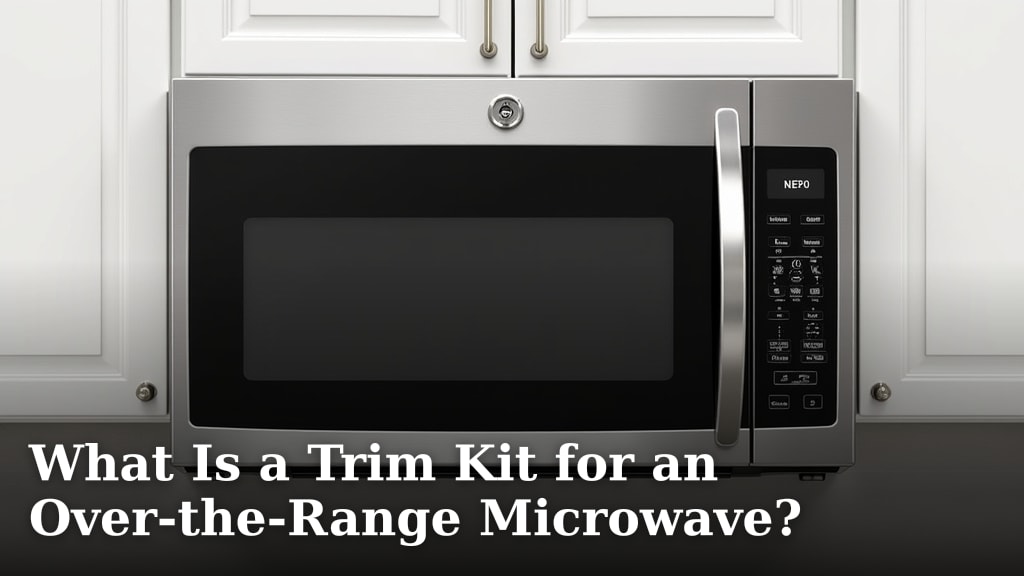
A trim kit for an over-the-range microwave is essentially a decorative frame. It helps your microwave look built-in and hides any gaps. This gives your kitchen a cleaner, more polished appearance, much like a custom cabinet installation.
You might need one if your microwave doesn’t perfectly fill the space above your stove. It’s designed to cover any unfinished edges or awkward spacing. Think of it as the finishing touch that makes your appliance look like it belongs.
- A trim kit is a decorative frame.
- It makes your microwave look built-in.
- It covers gaps and unfinished edges.
- This creates a cleaner kitchen appearance.
Let’s walk through exactly what a trim kit is and why you might want one for your kitchen setup.
Understanding Over-the-Range Microwave Trim Kits
So, what exactly is a trim kit for your over-the-range microwave? Think of it as a designer’s touch for your appliance. It’s a set of panels and sometimes a frame that attaches to the microwave. Its main job is to make the microwave look like it’s truly built into your cabinetry. It fills any awkward spaces or covers up unfinished areas around the microwave.
When you install a microwave above your stove, the opening in your cabinets might not be a perfect fit. Microwaves come in standard sizes, but cabinet openings can vary. A trim kit bridges that gap. It creates a smooth, clean transition from the microwave to the surrounding cabinets. This makes your kitchen look much more custom and put-together.
What Does a Trim Kit Typically Include?
Most trim kits are designed to be visually pleasing. They usually consist of a top piece, side pieces, and sometimes a bottom piece. These are often made from metal, like stainless steel, to match your other appliances. Some kits might also include vent covers or decorative accents. The specific components can vary depending on the You might also be interested in what the light under a microwave is called.brand and model of both the microwave and the trim kit.
You might see kits that offer different finishes. This allows you to match your microwave to your other kitchen appliances. For example, if you have a stainless steel microwave, you’ll want a stainless steel trim kit. It’s all about creating a harmonious look in your kitchen. We found that coordinating the finishes is key for a professional appearance.
Why Use a Trim Kit? The Aesthetic Benefits
The primary reason people opt for a trim kit is for its aesthetic appeal. A microwave installed in a cabinet space can sometimes look a bit out of place if it doesn’t fit snugly. Gaps can appear between the microwave and the cabinet frame. These gaps can collect dust and debris. They also detract from the overall look of your kitchen.
A trim kit neatly covers these gaps. It creates a finished, built-in look. This makes your microwave appear as if it was custom-designed for that space. Many homeowners find that this subtle change makes a big difference in their kitchen’s appearance. It can make a standard microwave look like a high-end appliance.
The Functional Advantages of a Trim Kit
Beyond looks, trim kits offer some practical advantages. They help secure the microwave more firmly in place. This can be especially useful if the fit isn’t perfectly snug to begin with. A secure installation is always a good idea for any appliance. Many safety guidelines suggest proper installation for appliance stability (Consumer Product Safety Commission).
Trim kits can also help protect your cabinetry. The edges of your cabinets can be prone to wear and tear. A trim kit acts as a buffer. It prevents accidental bumps or scrapes from damaging the wood or laminate around the microwave opening. This helps maintain the integrity and appearance of your cabinets over time.
When Do You Need a Microwave Trim Kit?
You might be wondering if you actually need one. The need for a trim kit usually comes down to the dimensions of your microwave versus the dimensions of the cabinet opening. When you purchase an over-the-range microwave, it’s designed to fit into a standard cabinet cutout. However, not all cabinet cutouts are perfectly standard.
Perfect Fit vs. Slightly Gappy Installation
If your microwave fits perfectly into the cabinet opening with no gaps around the edges, you likely don’t need a trim kit. In this ideal scenario, the microwave is flush with the cabinetry, and there’s nothing to hide. This is the most seamless look. You’ve achieved the built-in effect without any extra accessories.
On the other hand, if there are noticeable gaps around your microwave, a trim kit becomes very useful. These gaps can be a few inches wide. They might appear on the top, sides, or even all around the appliance. A trim kit is specifically designed to fill these voids. It provides a polished finish where there would otherwise be empty space.
Universal vs. Manufacturer-Specific Kits
It’s important to know that trim kits are not always one-size-fits-all. Some manufacturers offer universal trim kits. These are designed to fit a range of microwave sizes and brands. They often come with adjustable components. This allows you to customize the fit for your specific installation.
However, many manufacturers also produce model-specific trim kits. These are made to perfectly match a particular microwave model or series. A manufacturer-specific kit will often provide the most integrated and seamless look. It’s like ordering a custom suit versus buying one off the rack. We found that checking compatibility is the most critical step before purchasing.
To figure out which type you need, you’ll want to consult your microwave’s manual. It should specify if a trim kit is recommended or required. It might even suggest a particular model or brand of trim kit. If you’re unsure, measure the gaps around your microwave carefully. Compare these measurements to the specifications of available trim kits.
| Factor | Consideration | Impact on Your Choice |
|---|---|---|
| Microwave Model | Is the trim kit designed for your specific microwave model? | Essential for a perfect fit and appearance. |
| Cabinet Opening Size | Does the trim kit accommodate the size of your cabinet cutout? | Ensures gaps are properly covered. |
| Finish and Color | Does the trim kit’s finish match your microwave and other appliances? | Crucial for a cohesive kitchen design. |
| Installation Type | Is it designed for over-the-range microwaves? | Ensures proper mounting and ventilation. |
The Installation Process: What to Expect
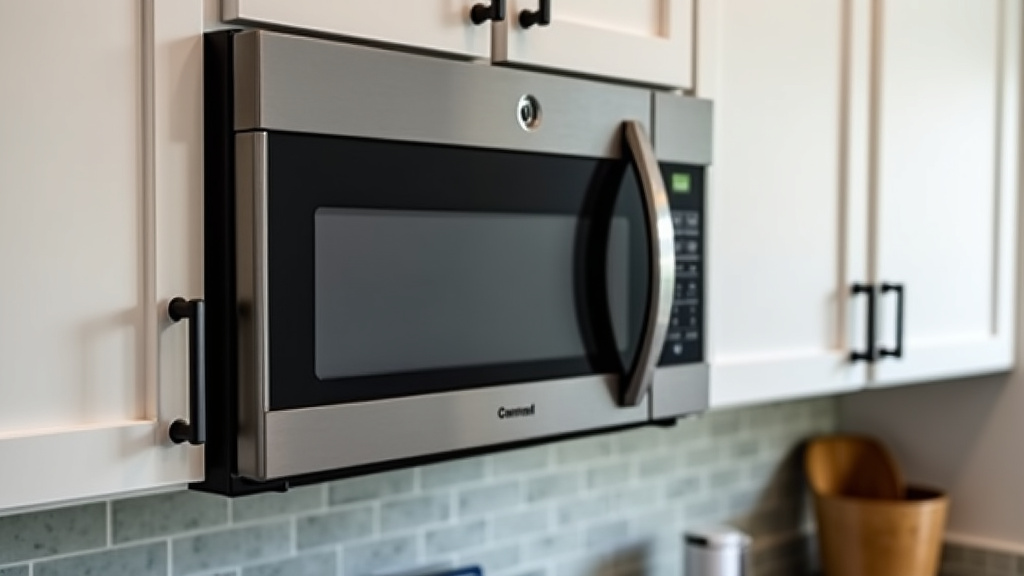
Installing a trim kit is generally a straightforward process. It usually involves attaching the frame pieces to the microwave and the surrounding cabinetry. Most kits come with detailed instructions and mounting hardware. The exact steps will depend on the specific trim kit you choose and your microwave’s design.
Tools and Preparation
Before you begin, gather the necessary tools. You’ll likely need a screwdriver, a measuring tape, and possibly a drill. Make sure you have the trim kit components and all the included screws and fasteners. It’s a good idea to lay everything out and read the instructions thoroughly before starting. Proper preparation saves time and frustration.
Securing the Trim Kit
Typically, you’ll start by attaching the frame pieces to the microwave itself. Then, you’ll position the microwave back into the cabinet opening. The trim kit pieces are then secured to the sides of the cabinets. This pulls the microwave snugly into place and covers any gaps. Many experts recommend having a second person help, especially when lifting the microwave.
Important Considerations for a Smooth Install
Always ensure the microwave is unplugged before you start any installation work. Safety first is paramount. Double-check that the trim kit is securely fastened. A loose trim kit can be unsightly and may not offer adequate support. Most manufacturers suggest checking alignment before fully tightening screws.
Here’s a quick checklist to help you prepare:
- Confirm your microwave model number.
- Measure the space around the microwave opening.
- Identify the correct trim kit for your microwave.
- Gather necessary tools like screwdrivers and a tape measure.
- Read the trim kit’s installation instructions carefully.
- Ensure the microwave is unplugged before starting.
Conclusion
A trim kit for your over-the-range microwave is more than just a decorative frame. It’s a practical solution that bridges the gap between your appliance and your cabinetry. By hiding unsightly gaps and unfinished edges, it creates a polished, built-in look. This can dramatically improve your kitchen’s overall aesthetic. Remember to carefully check your microwave model and cabinet opening size before purchasing. Choosing the right trim kit ensures a professional finish that makes your kitchen feel more cohesive and custom. Take the time to measure and compare options to find the perfect fit for your space.
Frequently Asked Questions
Do all over-the-range microwaves need a trim kit?
No, not all over-the-range microwaves require a trim kit. If your microwave fits snugly into the cabinet opening with no gaps around the edges, you likely don’t need one. A trim kit is primarily for situations where there are visible spaces that detract from the appearance.
How do I know if I need a universal or manufacturer-specific trim kit?
You should consult your microwave’s manual to see if it recommends a specific trim kit. If not, and you have gaps, measure them carefully. Universal kits offer more flexibility, while manufacturer-specific ones often provide a more integrated look. Always check compatibility before buying.
What is the main benefit of a trim kit besides looks?
Beyond aesthetics, trim kits can help secure the microwave more firmly in its mounting. They also act as a protective barrier, helping to prevent accidental damage to the edges of your surrounding cabinetry from everyday bumps and scrapes.
Can I install a trim kit myself?
Yes, installing a trim kit is usually a straightforward DIY project. Most kits come with detailed instructions and the necessary hardware. You’ll typically need basic tools like a screwdriver and measuring tape. Having a second person can be helpful when handling the microwave.
What should I do if the trim kit finish doesn’t match my other appliances?
We’ve found that matching finishes is key for a professional kitchen. If you can’t find a trim kit that perfectly matches, consider neutral finishes like stainless steel or black if they complement your appliances. Sometimes a slight contrast can work, but it’s best to aim for a close match for the most cohesive look.